Limewashed Fireplace

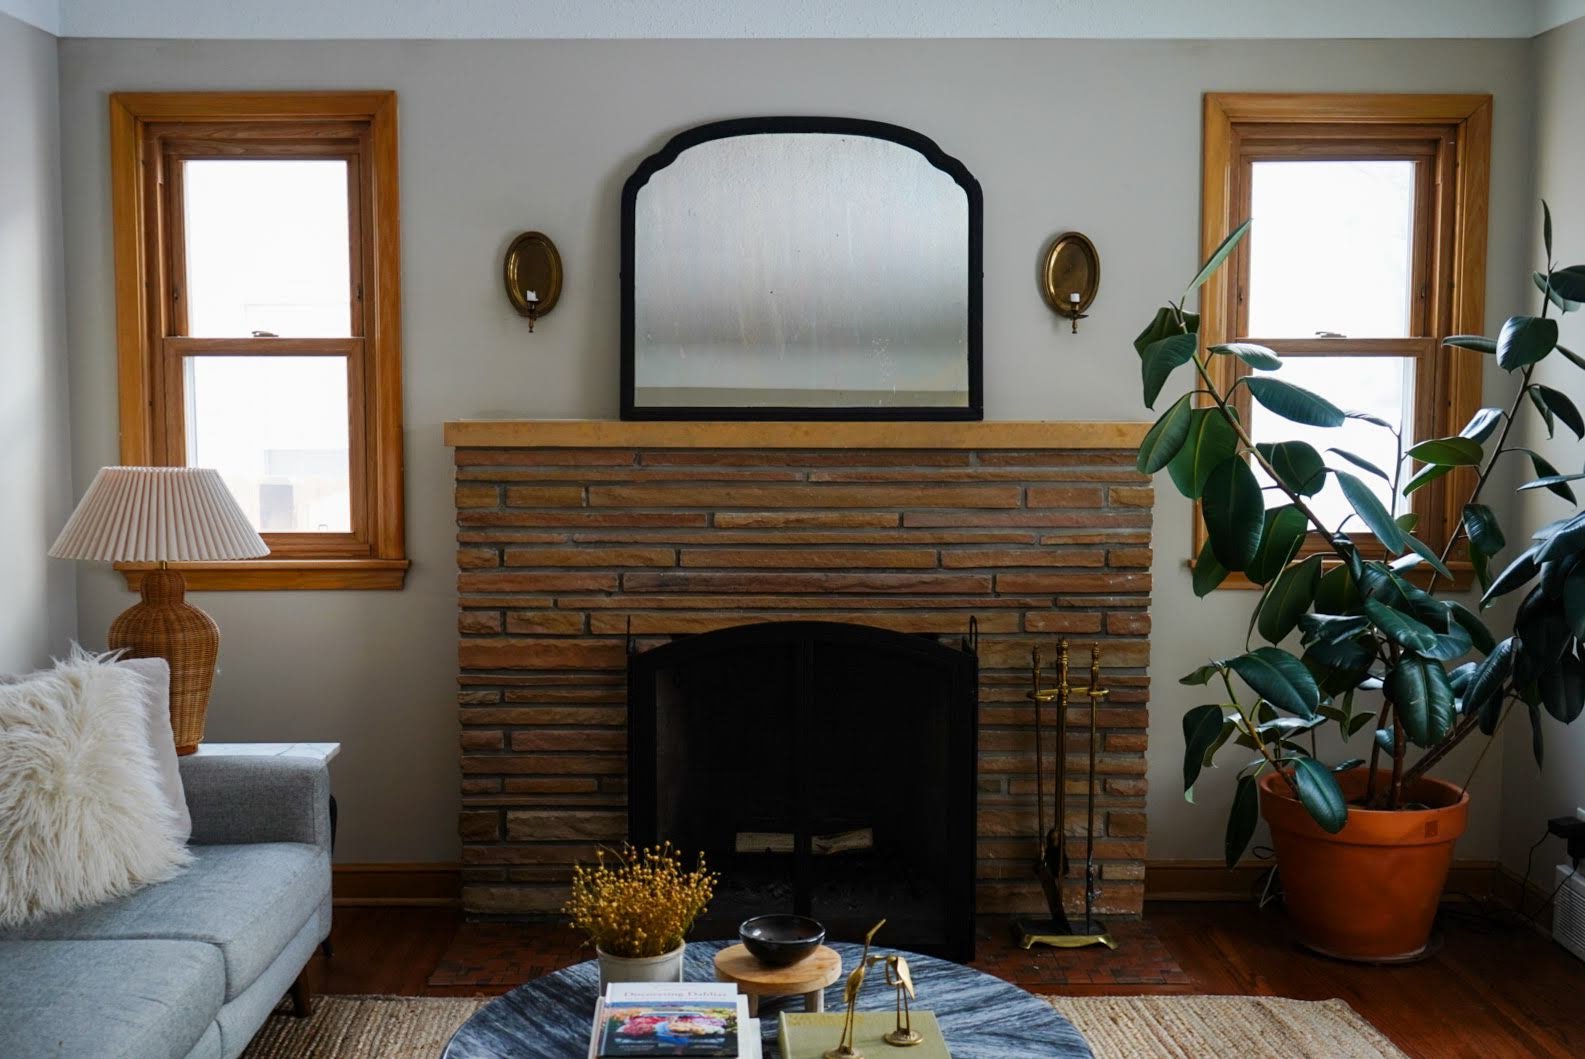
the “before”
as you can see it is pretty dark and orange. It goes great with the orange wood *insert eye roll
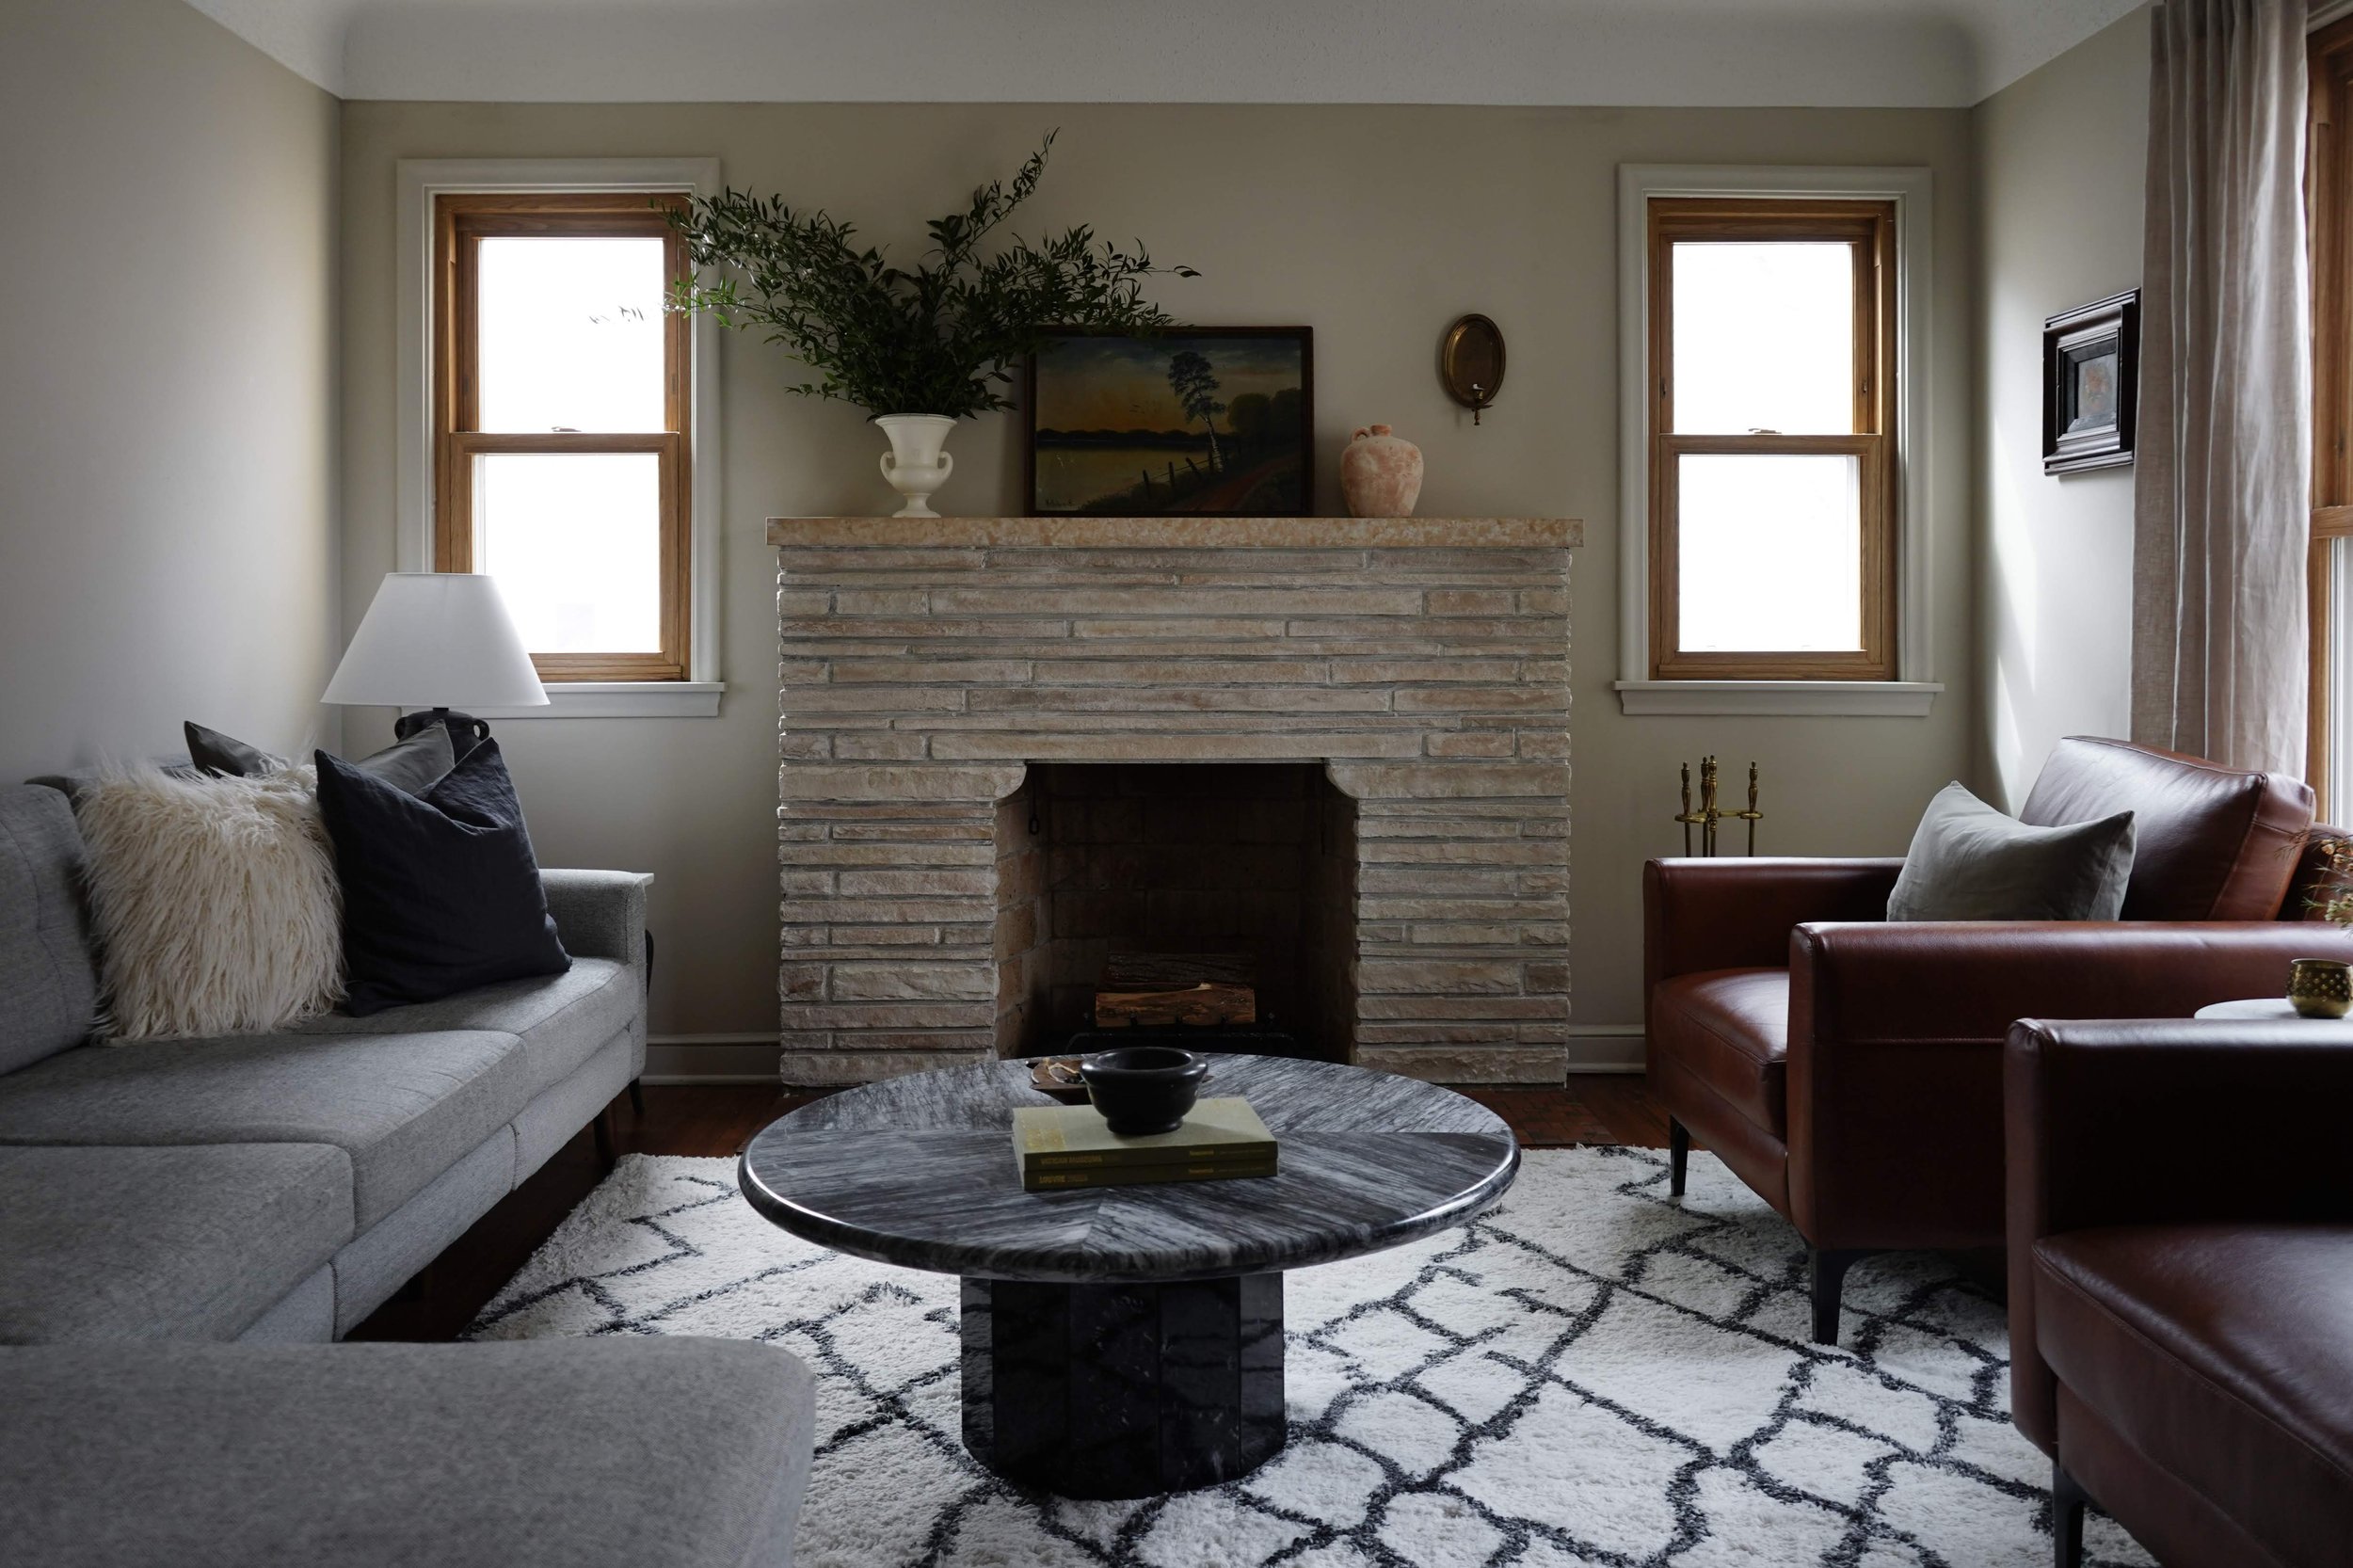
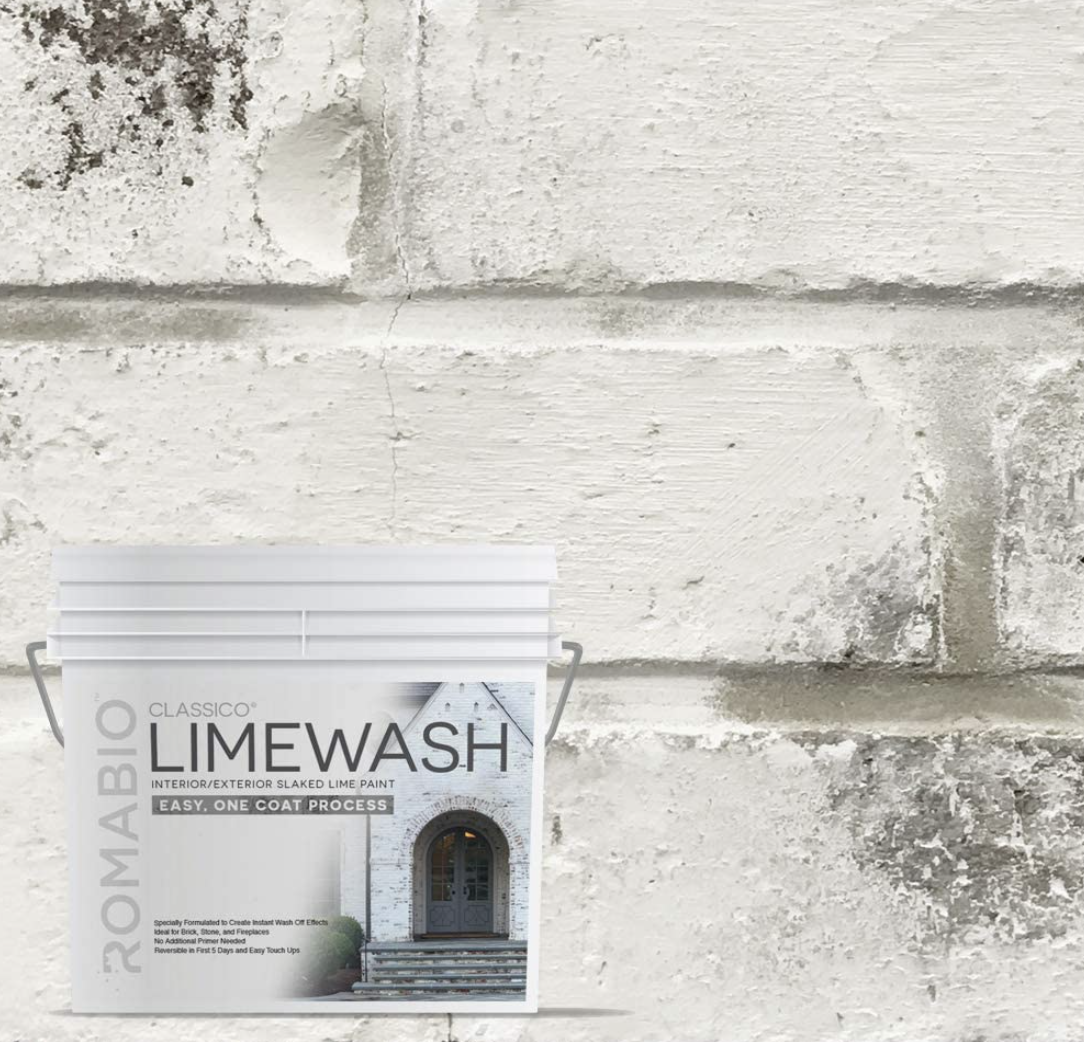
We were lucky to get a home with a unique wood burning fireplace but it had seen better days. The stone was quite dirty and had a chainmail guard with eagles on it.. not my vibe. So it needed a facelift! I decided to do limewash because it is what is best for brick/stone so it can still breath and not get moisture trapped. Way less maintenance than paint and it has a more natural look. There are quite a few brands that offer limewash these days, but I went with one I could get delivered within a couple days since I am impatient once I get an idea in my head! So I went with Romabio Classico Limewash in Avorio White since I wanted a really creamy white. It's available on Amazon or at Lowes. I went with a VERY diluted solution as well. Like I'm talking 1/8 of a cup to 4 cups of water. My thought was that I could always add more and removing is harder. Removing is totally possible with some elbow grease, water, and a scrubby brush!Other than the ratios, I simply followed the instructions by brushing it on with a paint brush. It will start looking way darker than you think! You have to let it dry for at least an hour and it will lighten up a lot.I would say this is a 2 hour job, but takes more time if you need to remove a lot of excess limewash. As you can see in the “after” below, you can still see all of the texture/character of the natural stone. It’s just a little brighter and more fresh!
Before + After